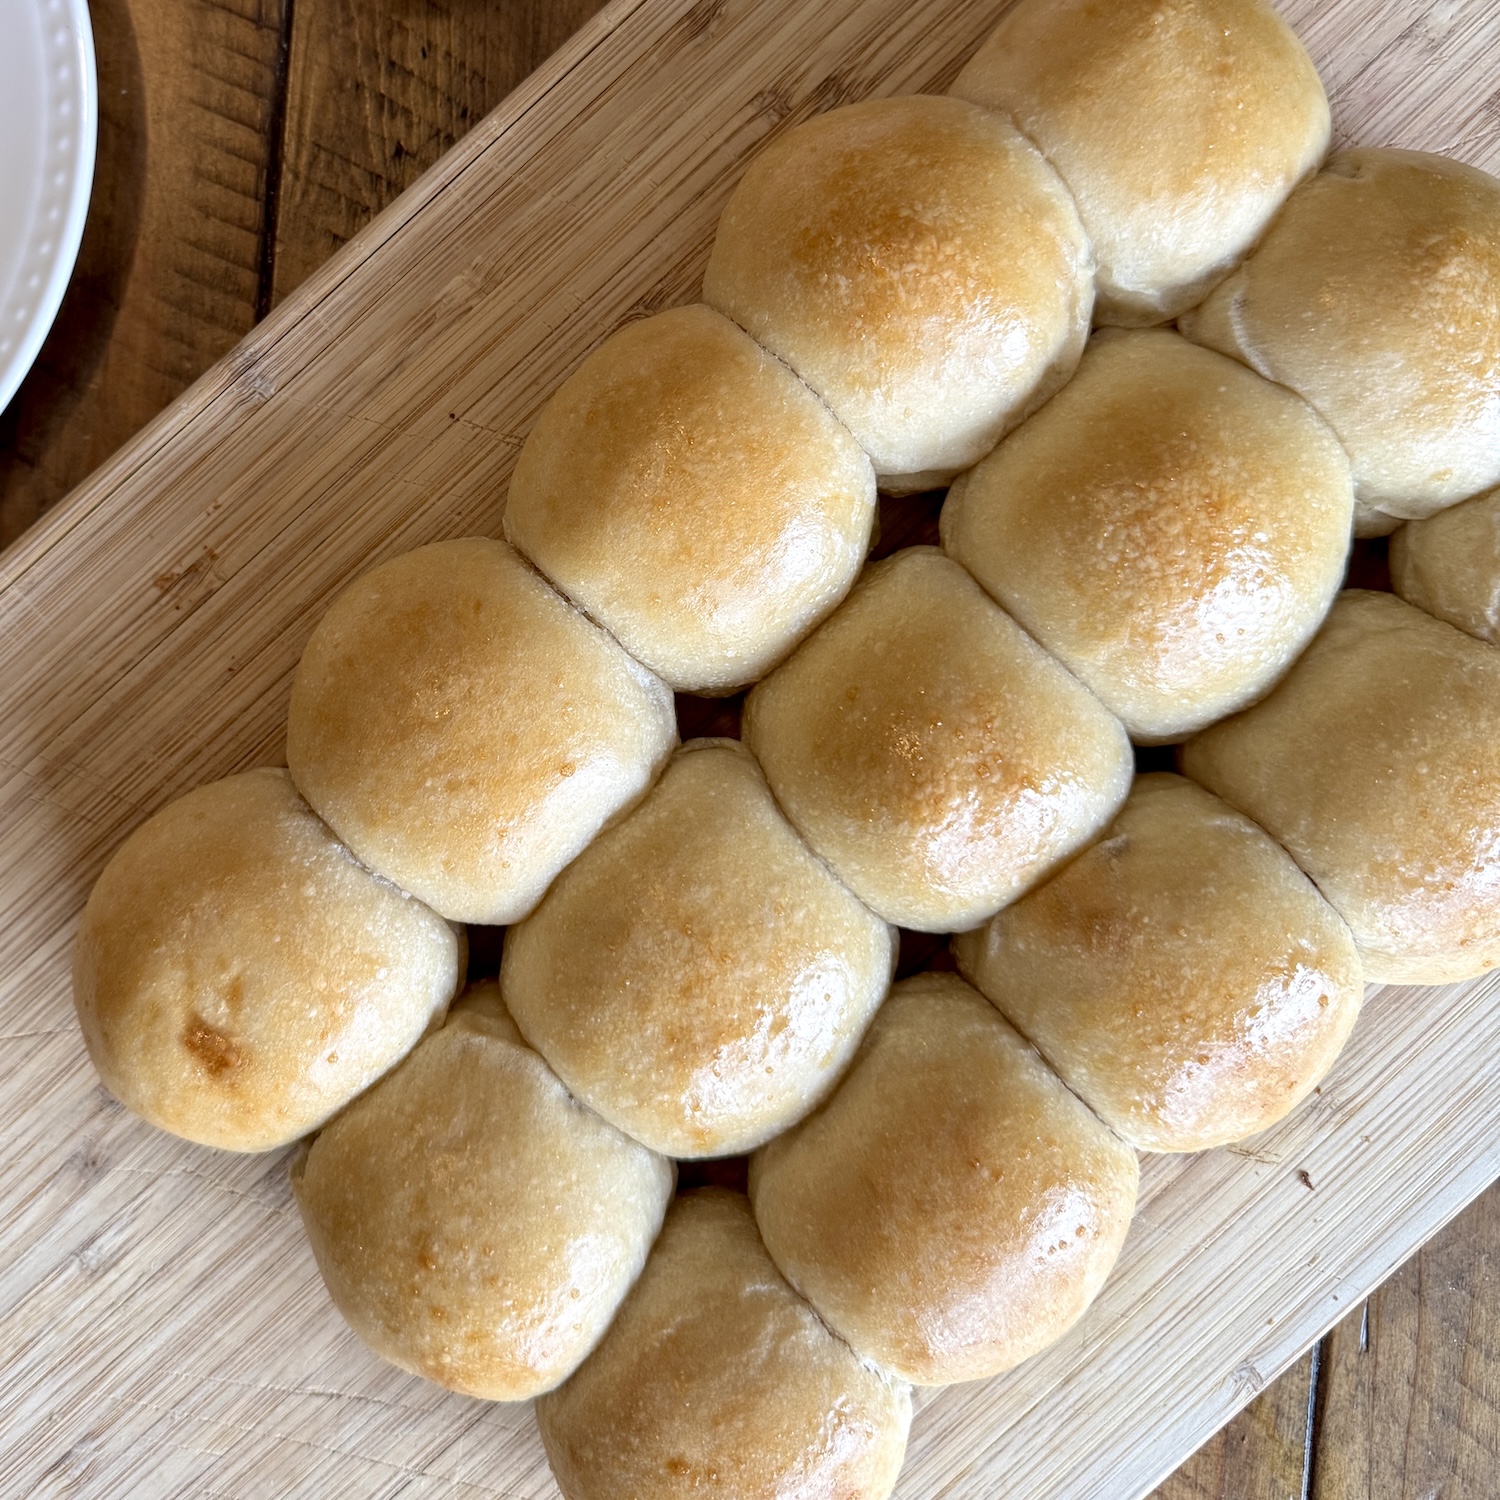
These soft and slightly sweet sourdough dinner rolls are the PERFECT thing to have at any gathering or family dinner. They will become the one thing you will be expected to bring at any holiday gathering/party…you’ve been warned! These sourdough dinner rolls are the perfect addition to any meal.
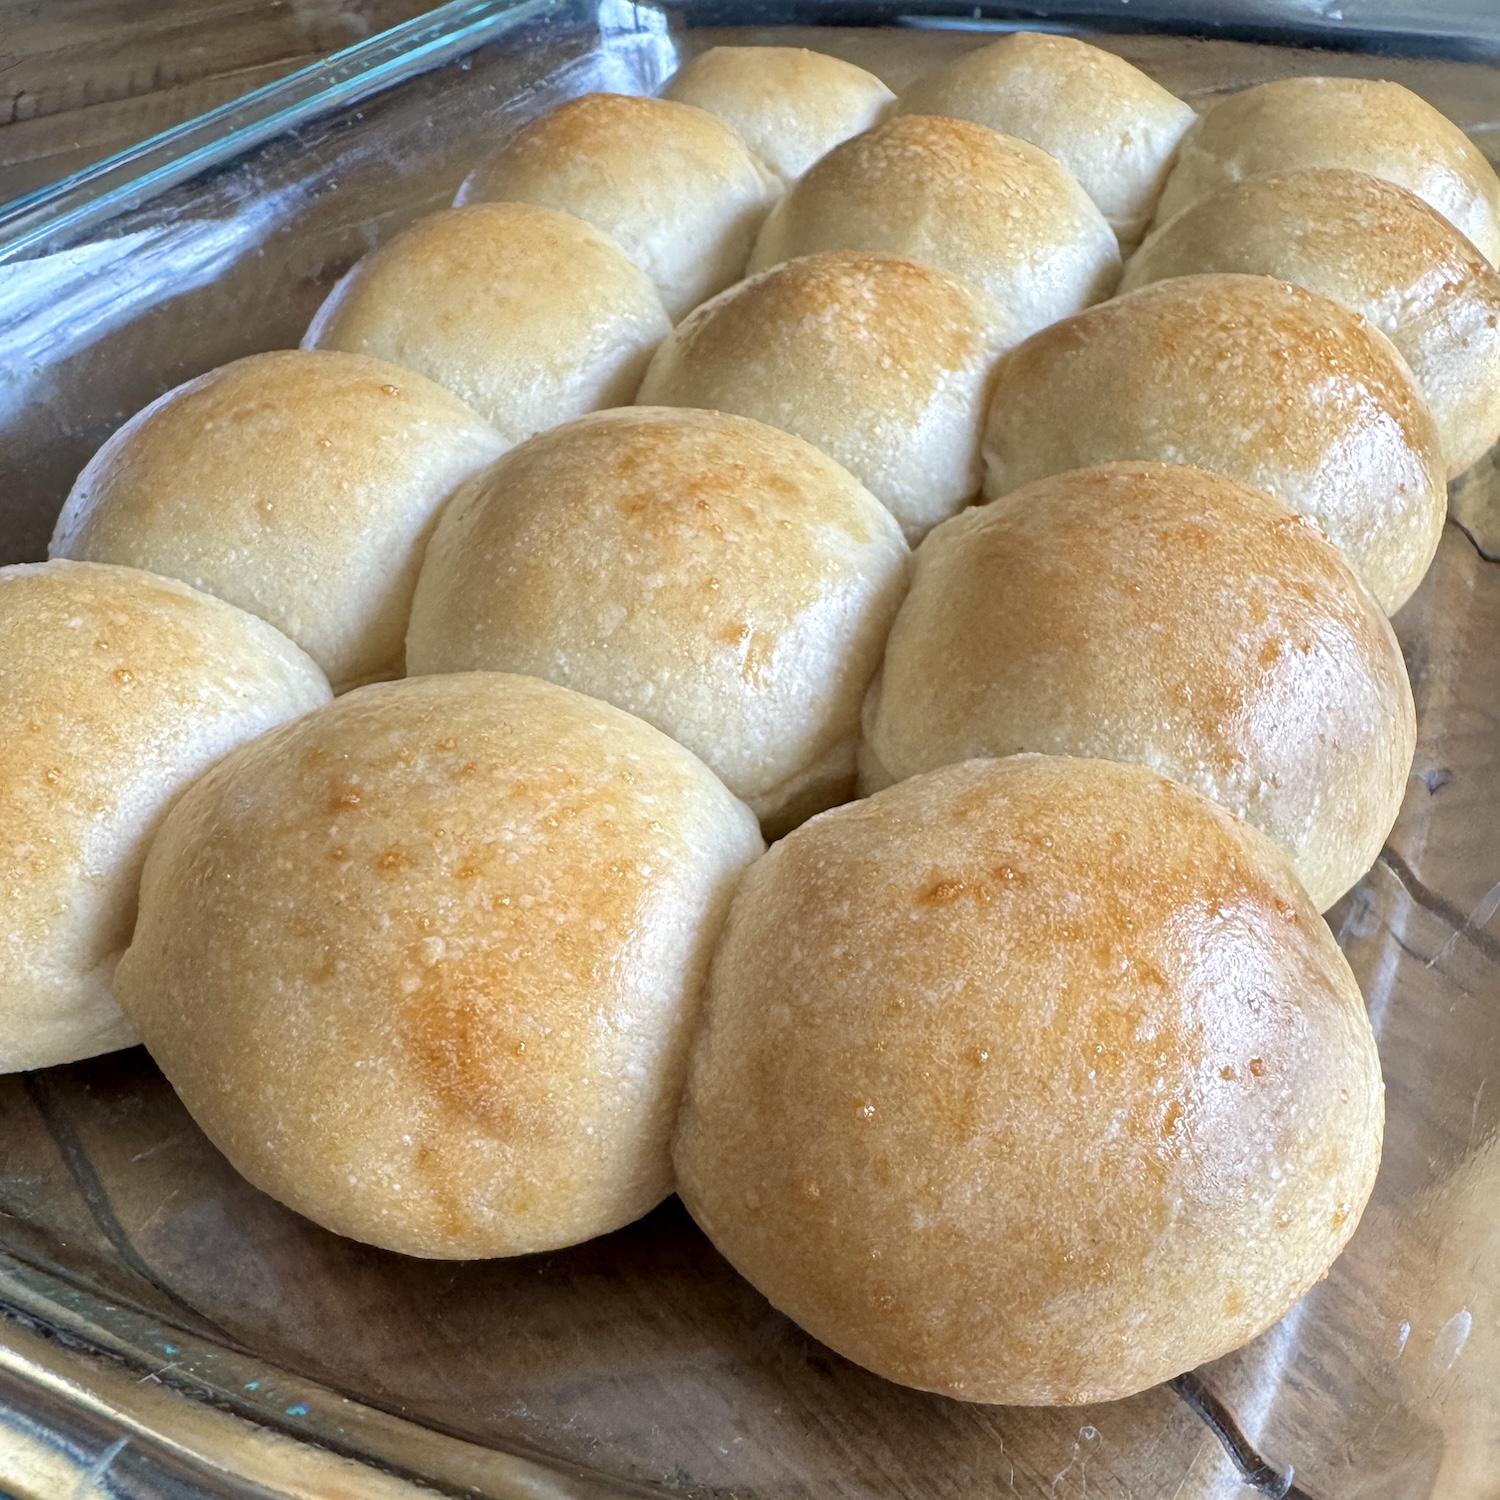
This recipe has been a few years in the making. My husband’s family hosts a huge Thanksgiving gathering every year. The family divides and conquers by bringing something to contribute to the big holiday dinner. A few years ago, I was placed on homemade rolls. Determined to make perfect sourdough dinner rolls, I started my journey to crafting my own recipe.
As most of you know, the majority of our family is from the Midwest. We travel from down south to spend time with our family over the holiday breaks. The first year, I shipped a dehydrated sourdough starter to my in-laws’ house. While trying to reactivate it, I left it in the oven, and the starter was accidentally baked. I ended up baking yeast rolls that holiday.
When I returned home, I was still determined to craft my own recipe and prepare for the next holiday. I can’t tell you how many rolls I baked. It took about two more years to perfect these sourdough dinner rolls!
One of my many favorite things about this recipe is that they can be prepped a couple of days in advance and left in the fridge to cold ferment, ready to be baked whenever they’re needed. This allows the sourdough to develop a complex flavor and helps reduce the risk of overproofing.
Many hours and love have gone into this sweet little recipe, and I can say they come out perfect every time!
How To Feed Your Sourdough Starter -
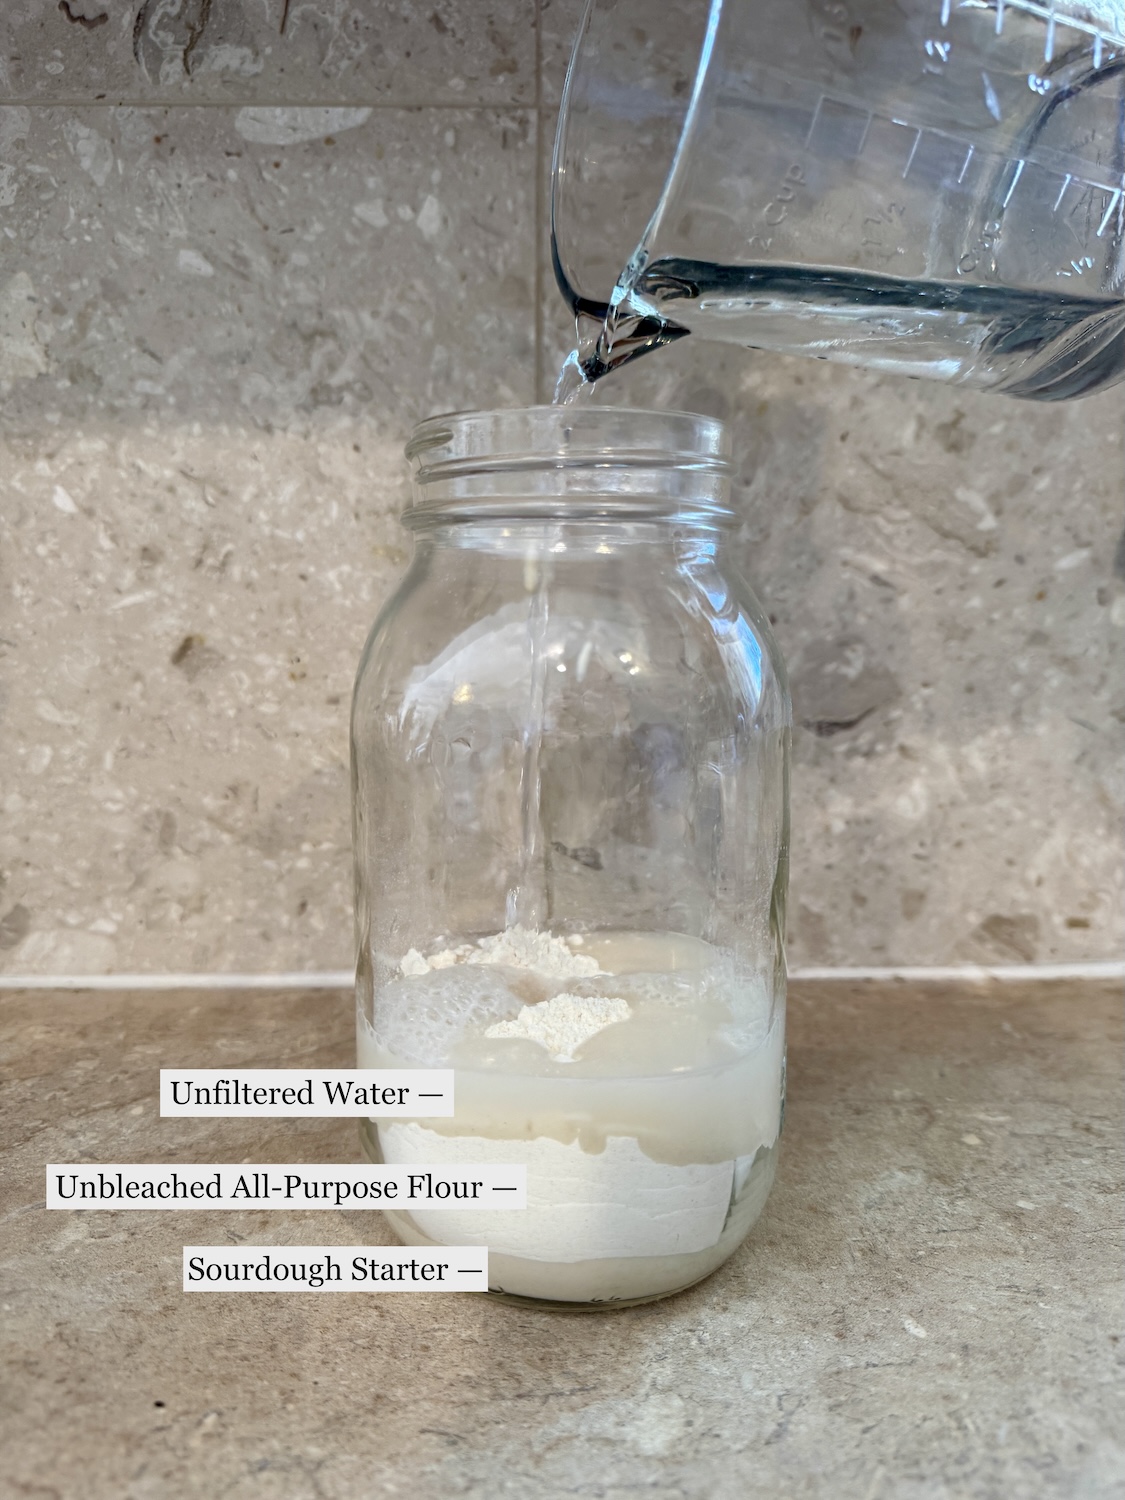
Feeding your starter is pretty simple. I’m sure it can feel like information overload when there are way too many opinions out there. The best way is to just keep it simple!
I feed my starter a 1:1:1 ratio. It’s simple and never fails me! You will want equal parts starter, flour, and warm water.
For example, if you have ½ cup starter, then you will feed it with ½ cup of flour and ½ cup of warm water.
The same goes for weighing with a kitchen scale. If you have 100g of starter, feed it with 100g of flour and warm water.
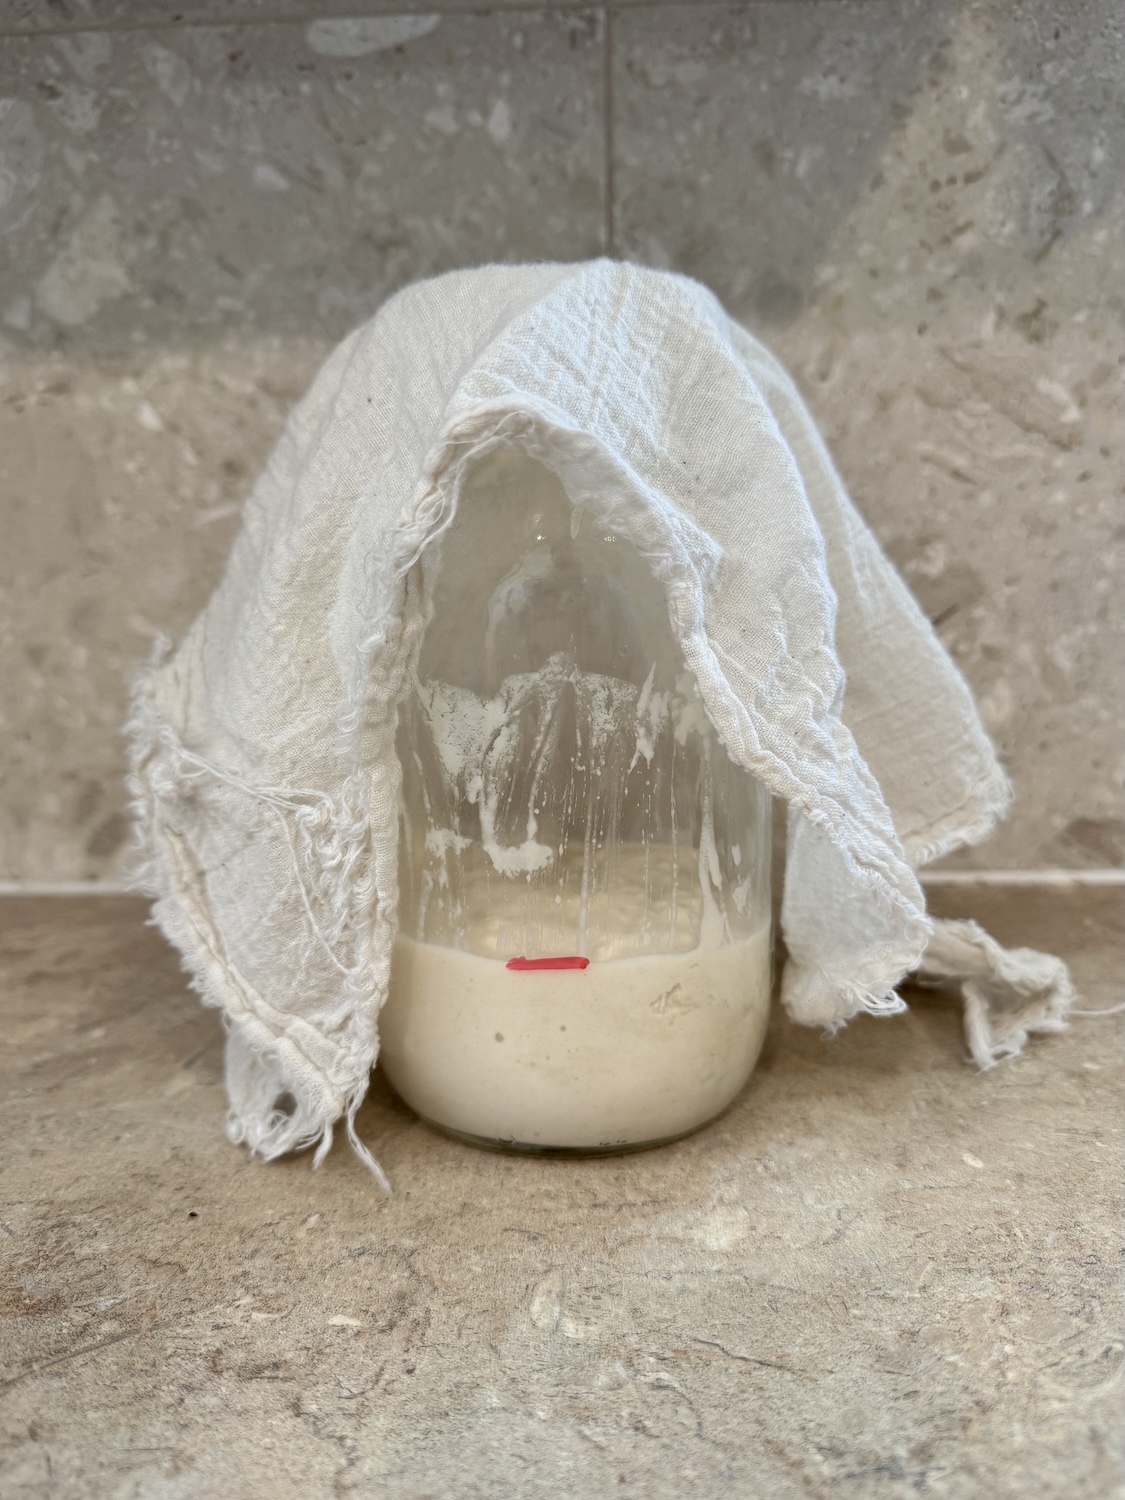
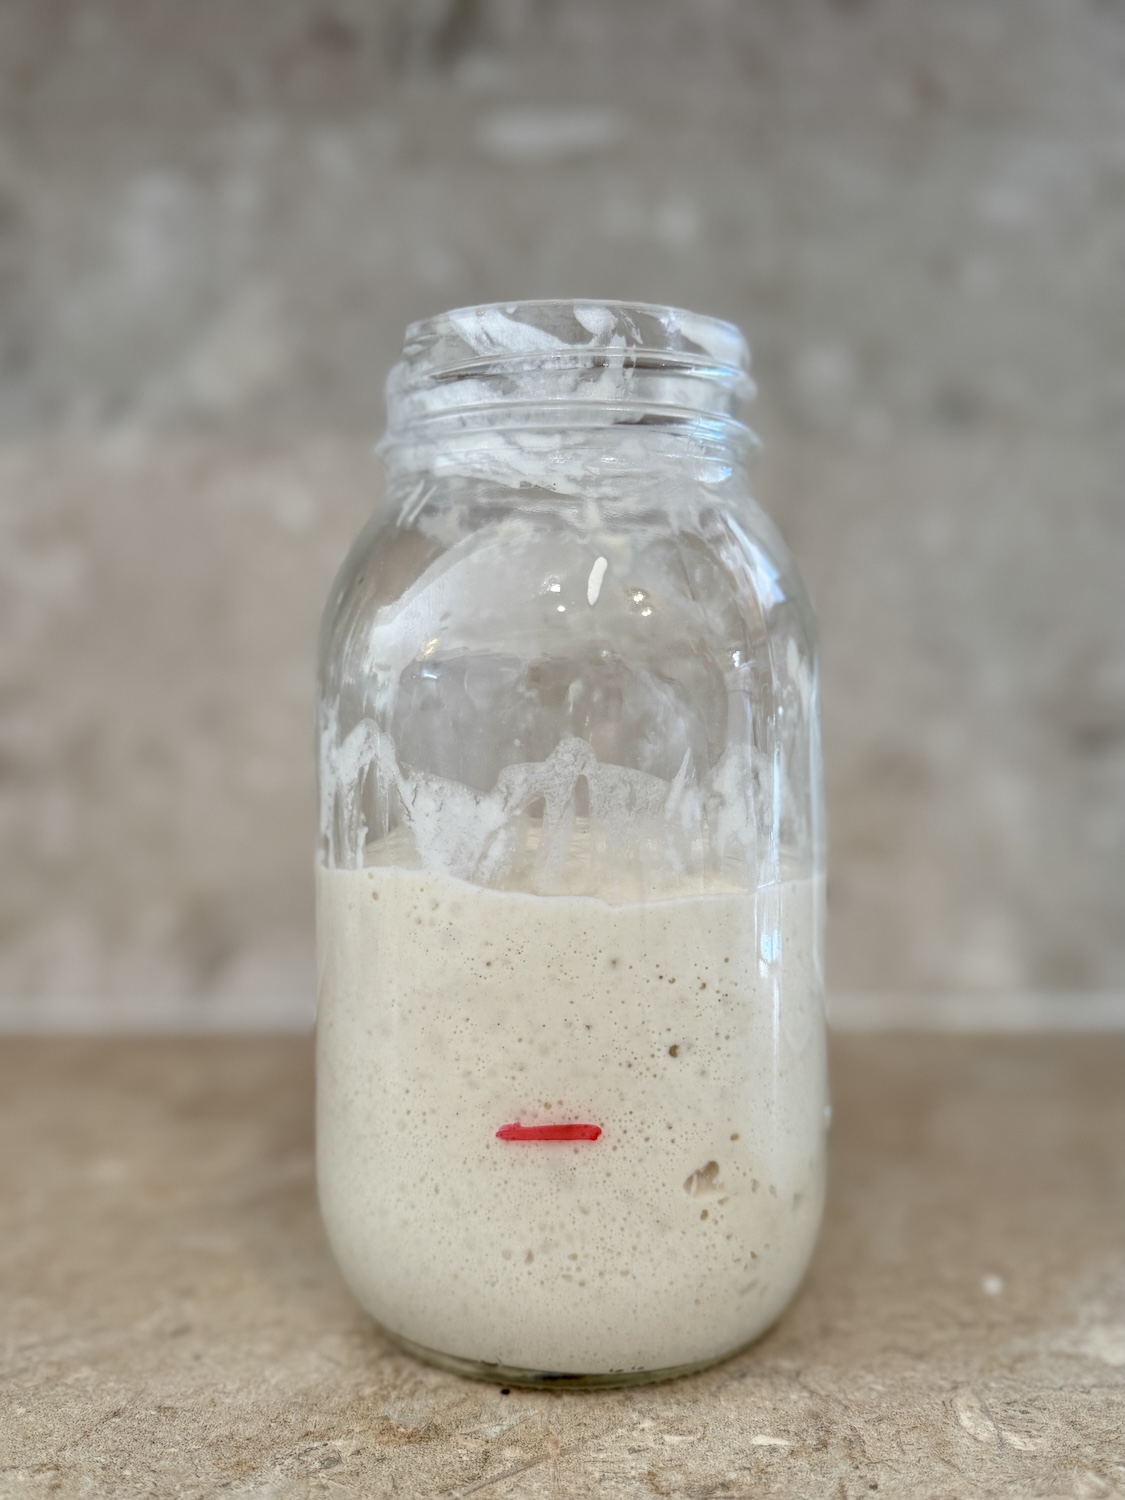
You will cover your jar with a tea towel or cheesecloth and let it do its thing on the counter. Within 4-12 hours, your starter should double in size. When it has reached “peak” or doubled in size, there is one more step to make sure the starter is bubbly and active enough.
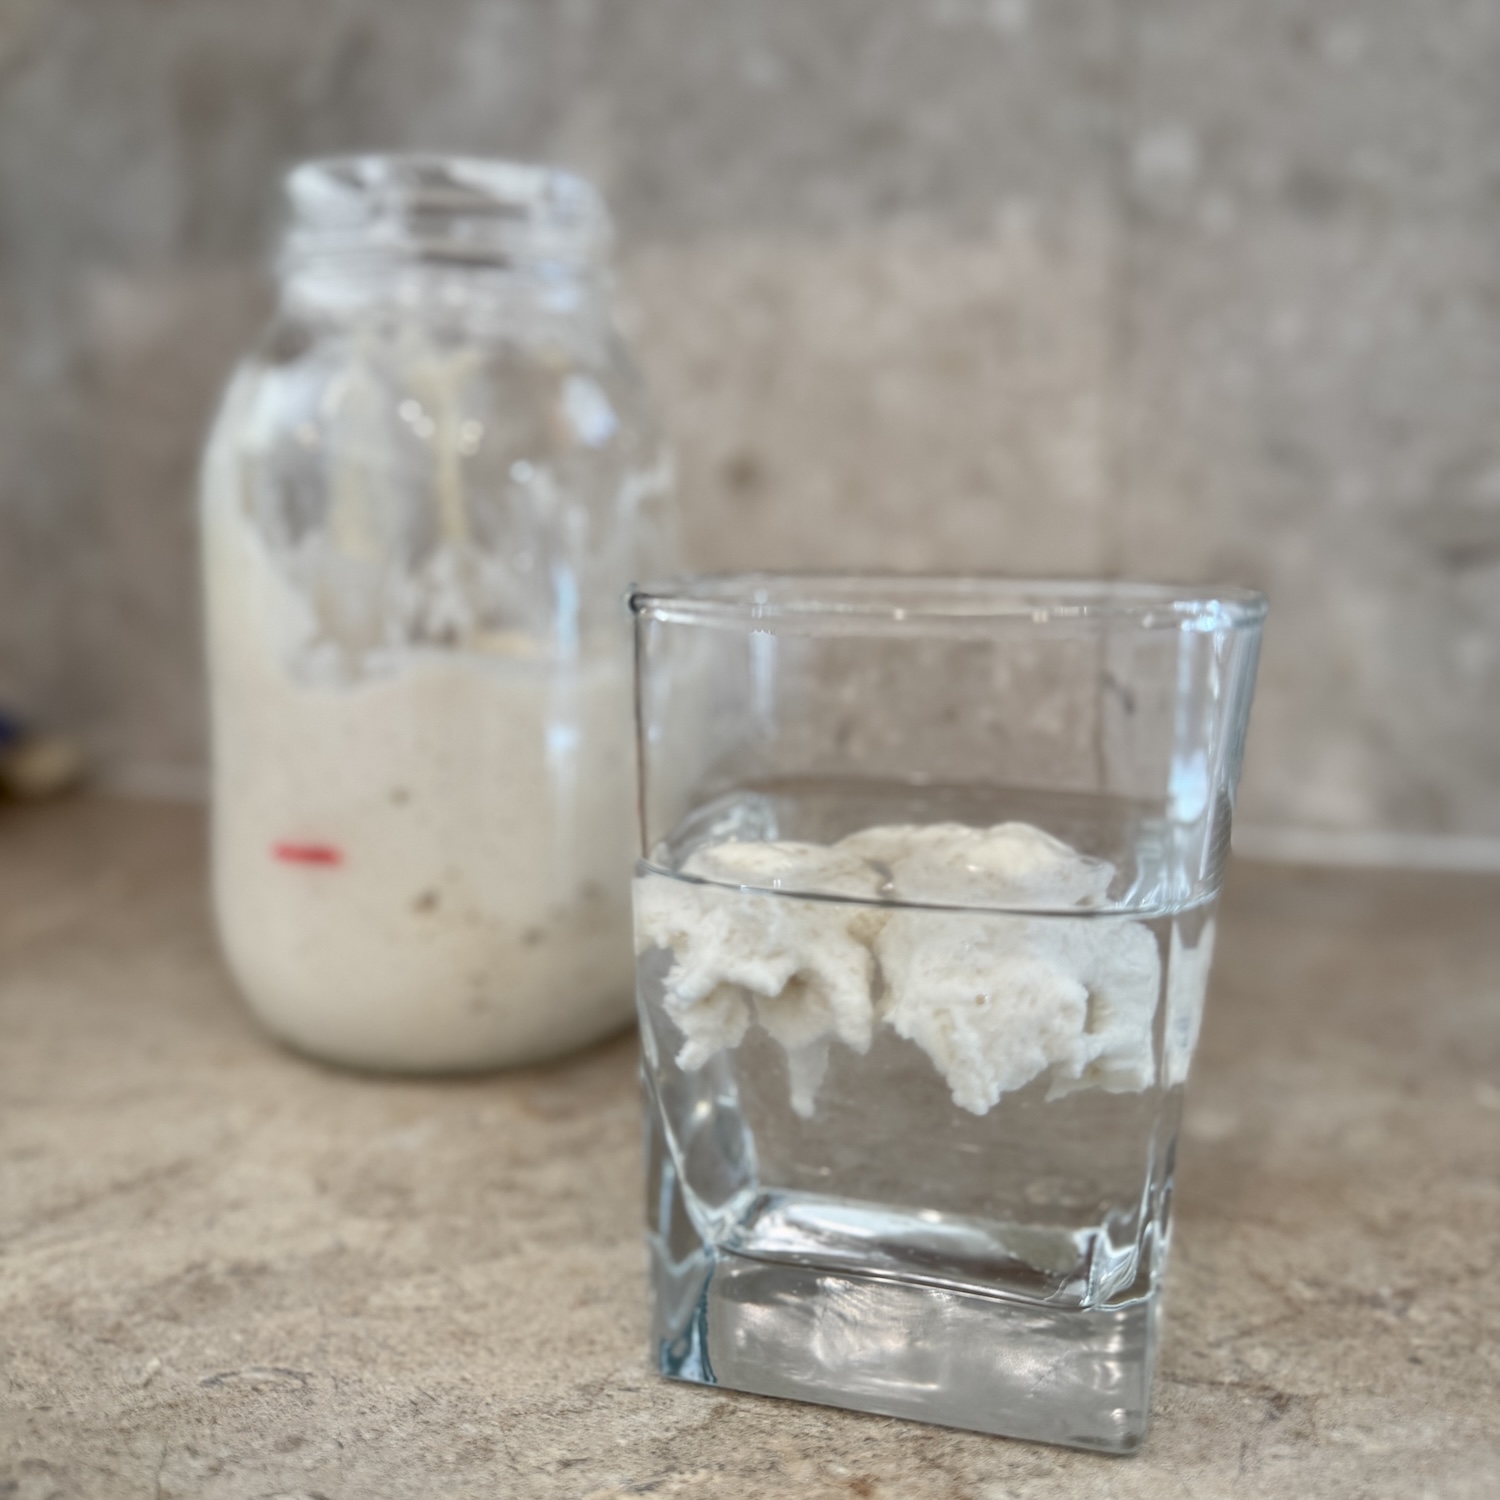
You will want to perform a “float” test! This involves taking a small glass of cold water and plopping some of the bubbly starter into it. If it floats, it means the starter is active enough to bake with! Pretty crazy, right? And just like that, you’re ready to make some sourdough dinner rolls!
Tips For Making Sourdough Dinner Rolls -
- When working in the kitchen, I recommend using a kitchen scale. This will help give you precise measurements and save you time. You will ultimately use fewer dishes if you use a kitchen scale. If you need one, check this one out on Amazon!
- After mixing in your stand mixer, make sure the dough passes the windowpane test. This will ensure that your gluten development is strong, giving you great-looking rolls.
- The recipe is easy to double for any gathering, holiday party, etc. When you allow them to bulk ferment in the fridge, you can prep them ahead of time and have fresh rolls on the day of your event!
- If you don’t have a stand mixer, you can make this recipe by hand. You would combine all of these ingredients in a mixing bowl. Once combined, pour on a floured surface and knead by hand for 10 minutes. Get your workout in for the day!
Tools You Might Need
- Stand Mixer
- Dough Hook Attachment
- Kitchen scale
- Bench Scraper
- 9×13” Baking Dish
- Basting Brush
What Is The Window Pane Test?
The window pane test is a great way to see if your dough is kneaded enough and if the gluten is developing correctly. This test will show you how strong and “elastic” your dough is. This will help your loaves or rolls hold their shape and not become flat pancakes.
Here’s how to test your dough:
- Take a small piece of your dough and form it into a ball.
- Very carefully stretch the dough apart with your fingers. It should create a thin translucent “window” through which you can see light. Your dough should not tear easily.
- If your dough tears easily and does not create a nice translucent “window” like the one pictured above, your gluten is not developed enough and should be kneaded longer.
Ingredients -
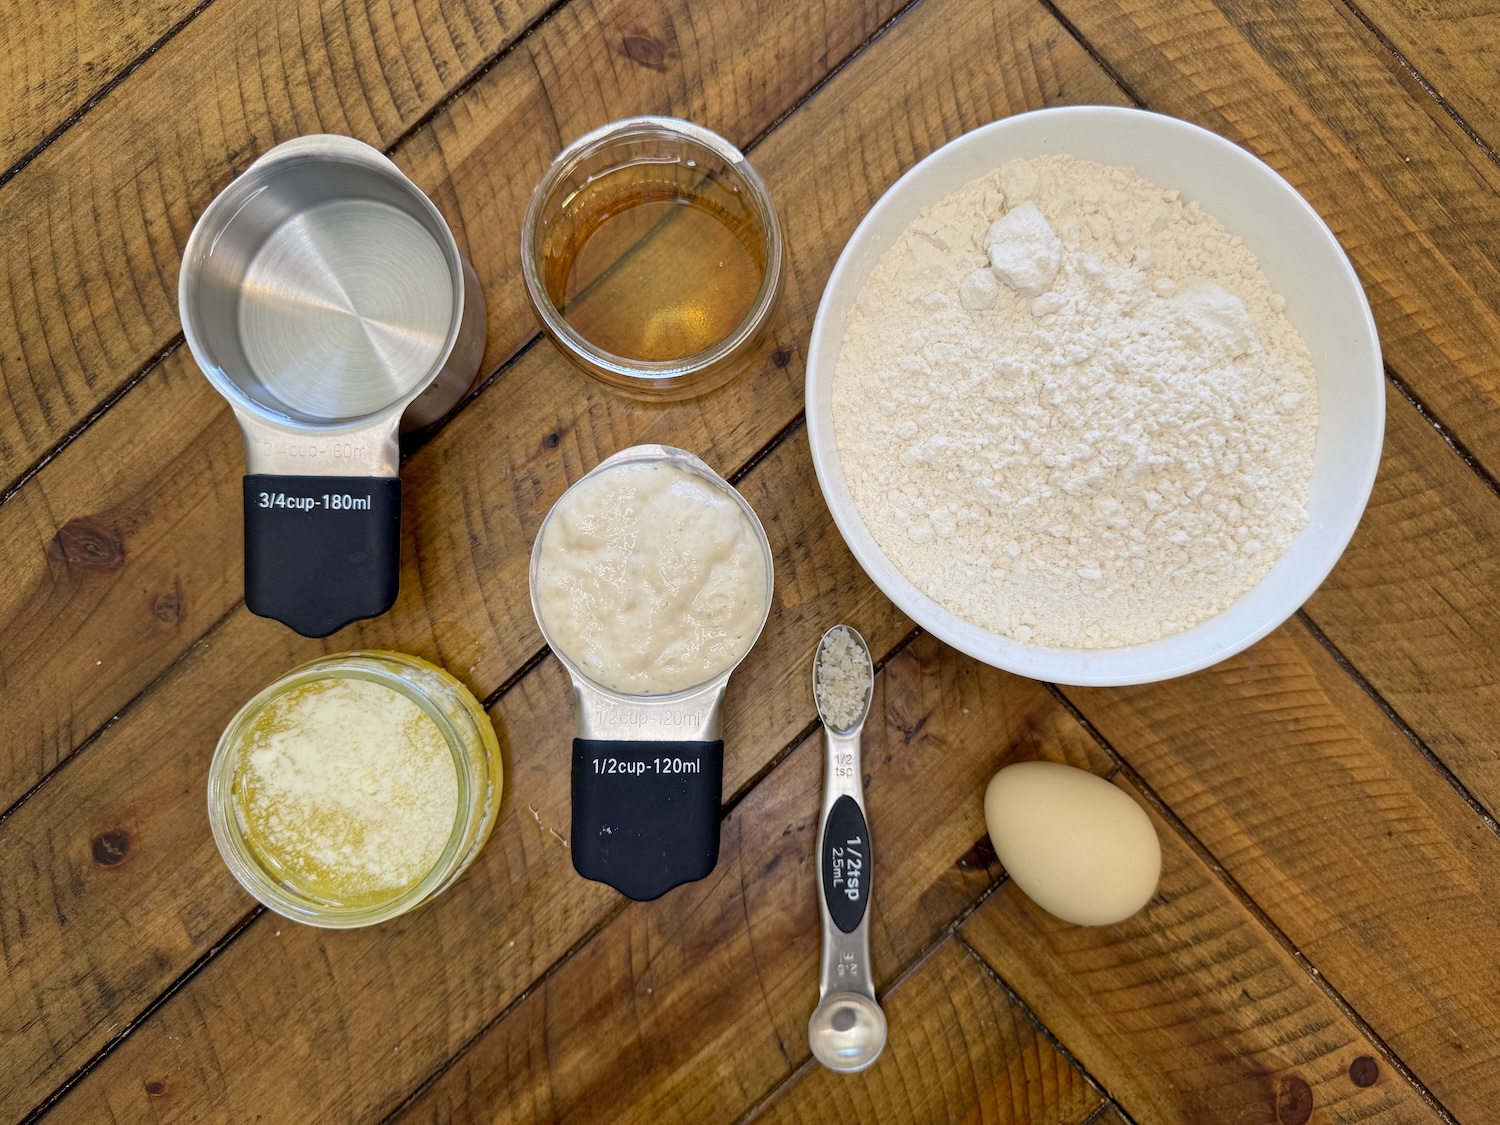
Active Bubbly Sourdough Starter – Fed and ready to use, passing the float test. Learn more about Sourdough Basics here!
Honey – Recommend using local raw honey!
Warm Water – The goal is to keep the water lukewarm. Keep the temp between 104-110℉
Melted Butter
Sea Salt
Unbleached All-purpose flour – When working with sourdough, you will want to focus on using unbleached flour to help the natural yeast to develop properly
Egg, for egg wash
How To Make Sourdough Dinner Rolls -
In the evening, take your stand mixer and combine all ingredients on speed 4 for 10-15 minutes. Be careful to watch your stand mixer; sometimes, mine likes to jump around once the dough is formed and moves a lot!
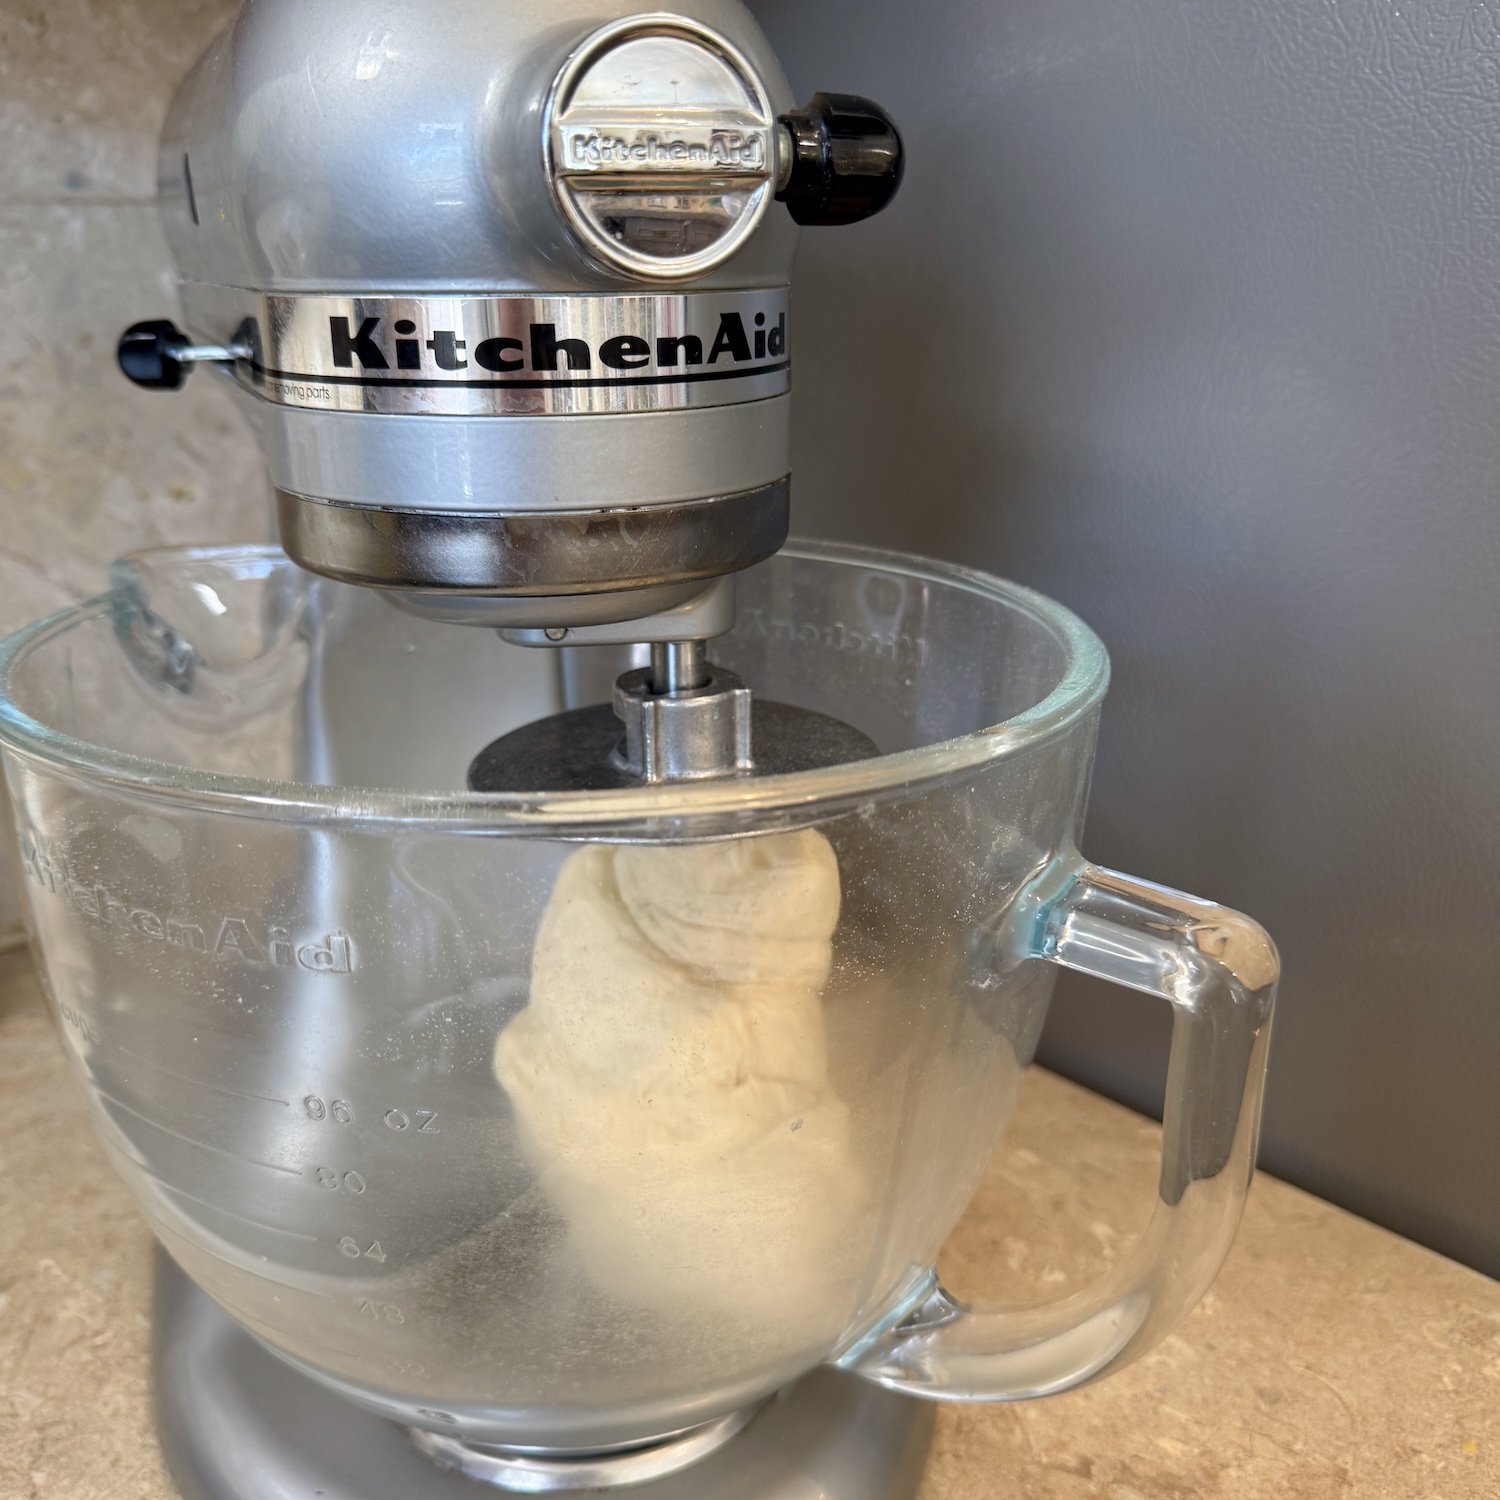
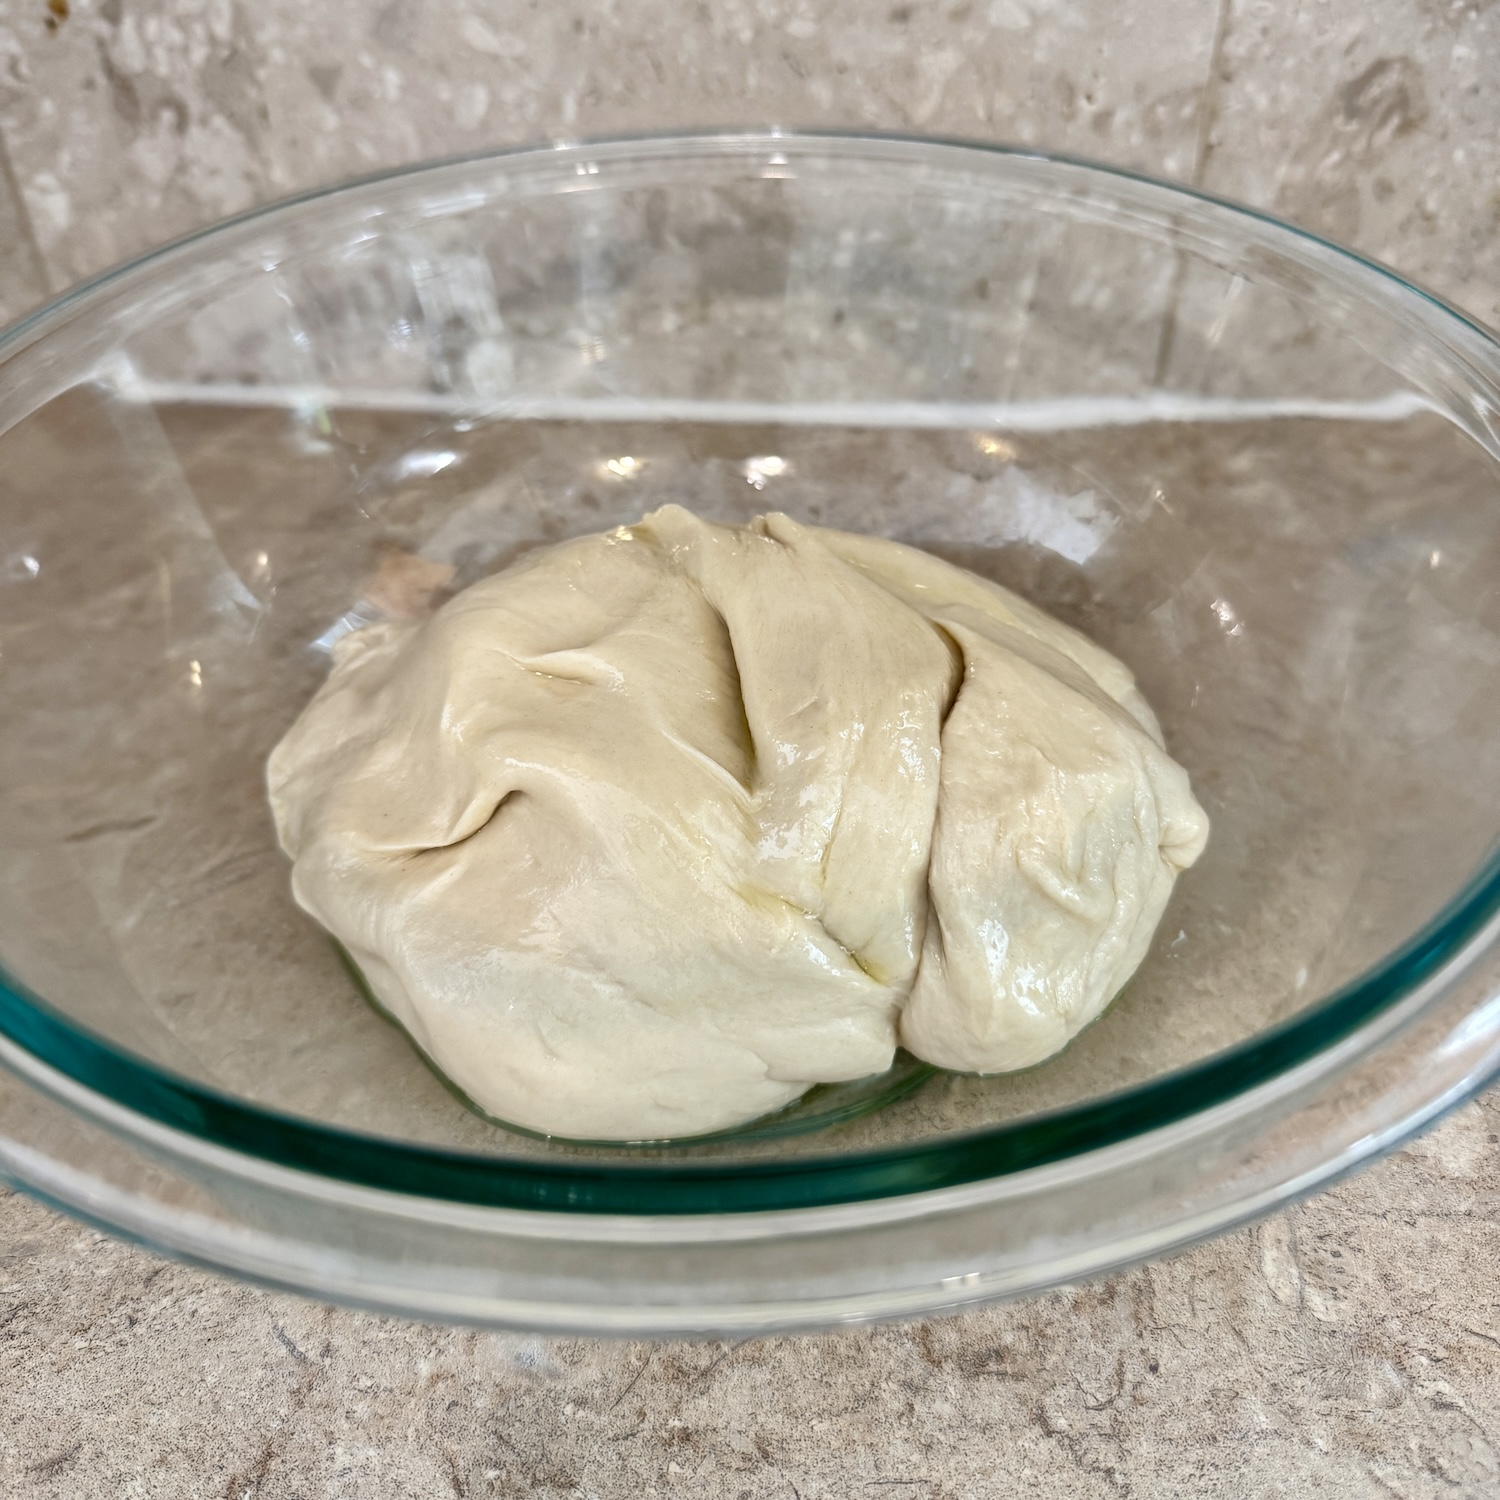
Once the sourdough dinner roll dough is mixed, place it in an oiled bowl and cover it with beeswax or plastic wrap. Leave on the counter for 8-12 hours (preferably overnight) to double in size.
The time on this may vary depending on the season and how warm your kitchen is. Come summertime down south, it takes my sourdough creations NO TIME to get active and ready to go. Just keep a good pulse on the temperature of your kitchen only because this could cause your dough to overproof.
The Next Morning:
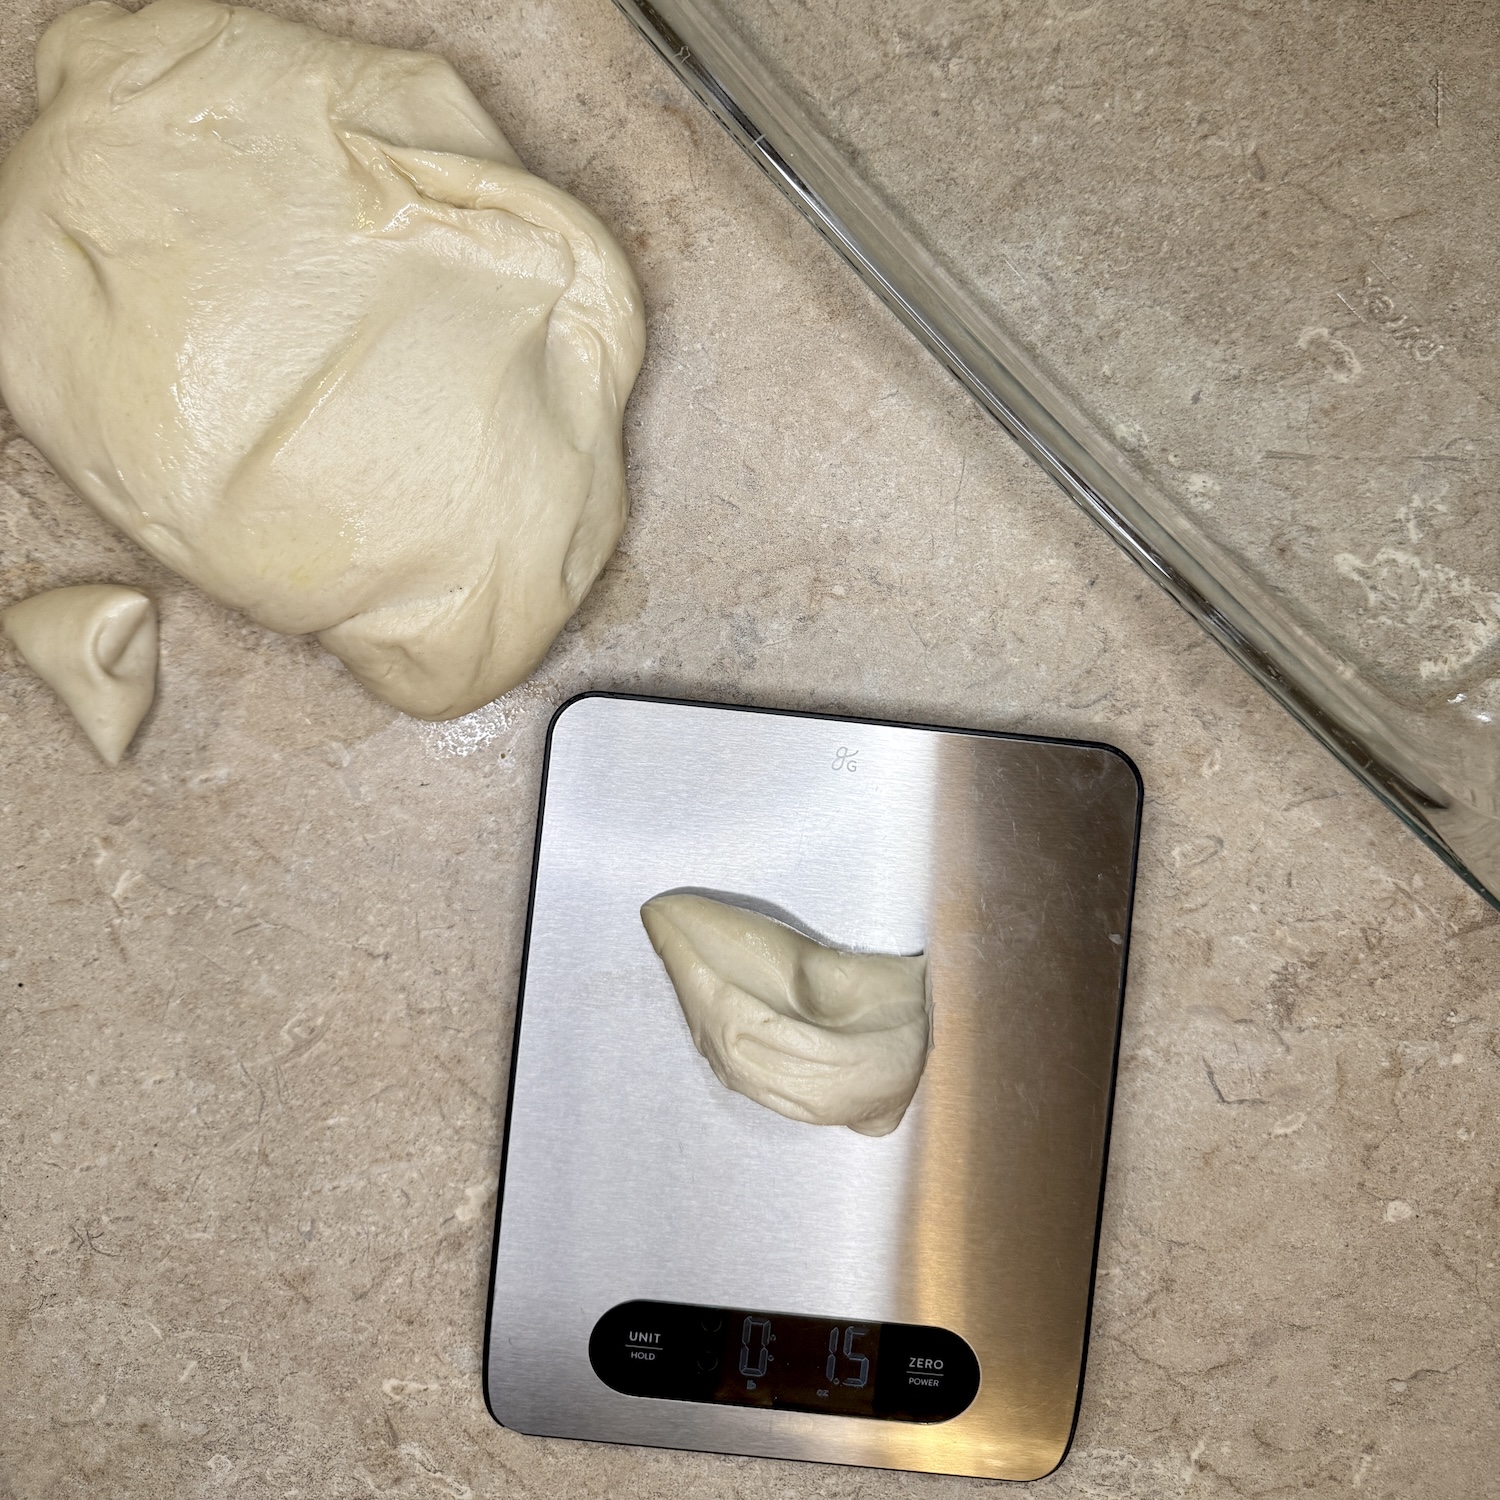
The following morning, take your dough and turn it out onto a floured surface. Take your kitchen scale and bench scraper and weigh out ~1.5-oz dough balls. Depending on how accurately you measure your rolls, you should get about 15 rolls. If you don’t have a kitchen scale, no stress! Just eyeball it and cut 12-15 dough balls out.
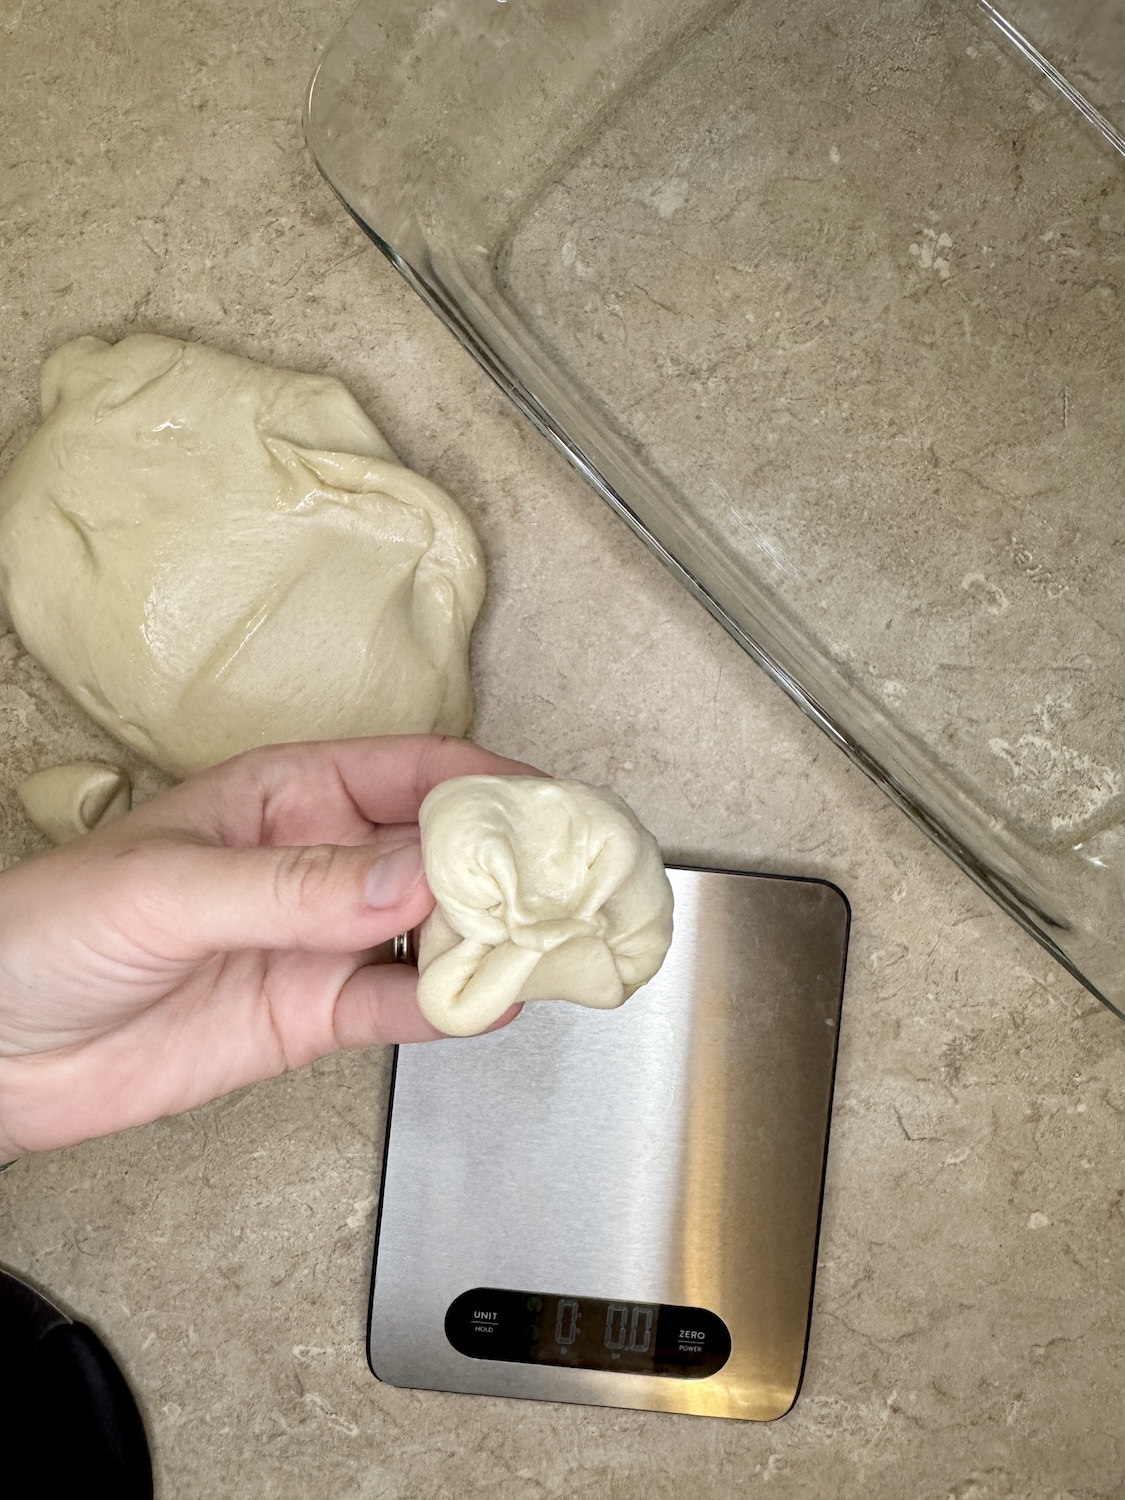
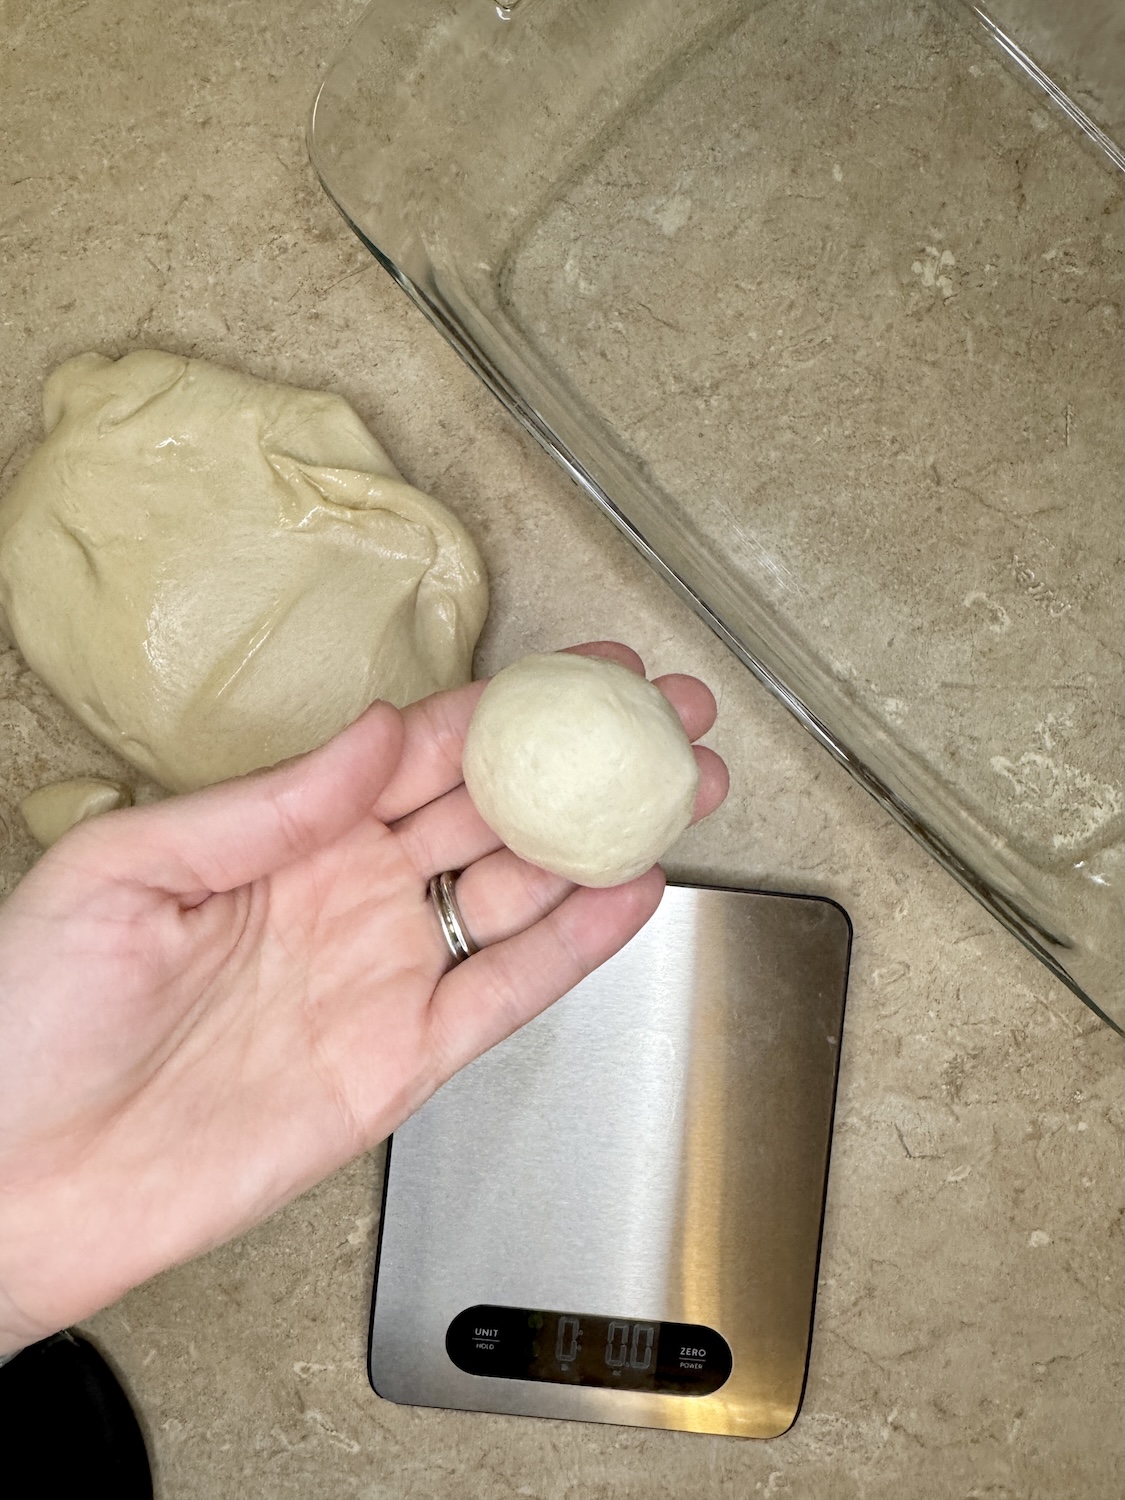
After each sourdough dinner roll is weighed, take the dough ball and pin its edges into the center. Once it’s pinched together, take the seam of the dough ball and place it face down on the counter. Take your hand and lightly cup the dough ball, moving it around in circular motions to create tension and seal up your dinner roll.
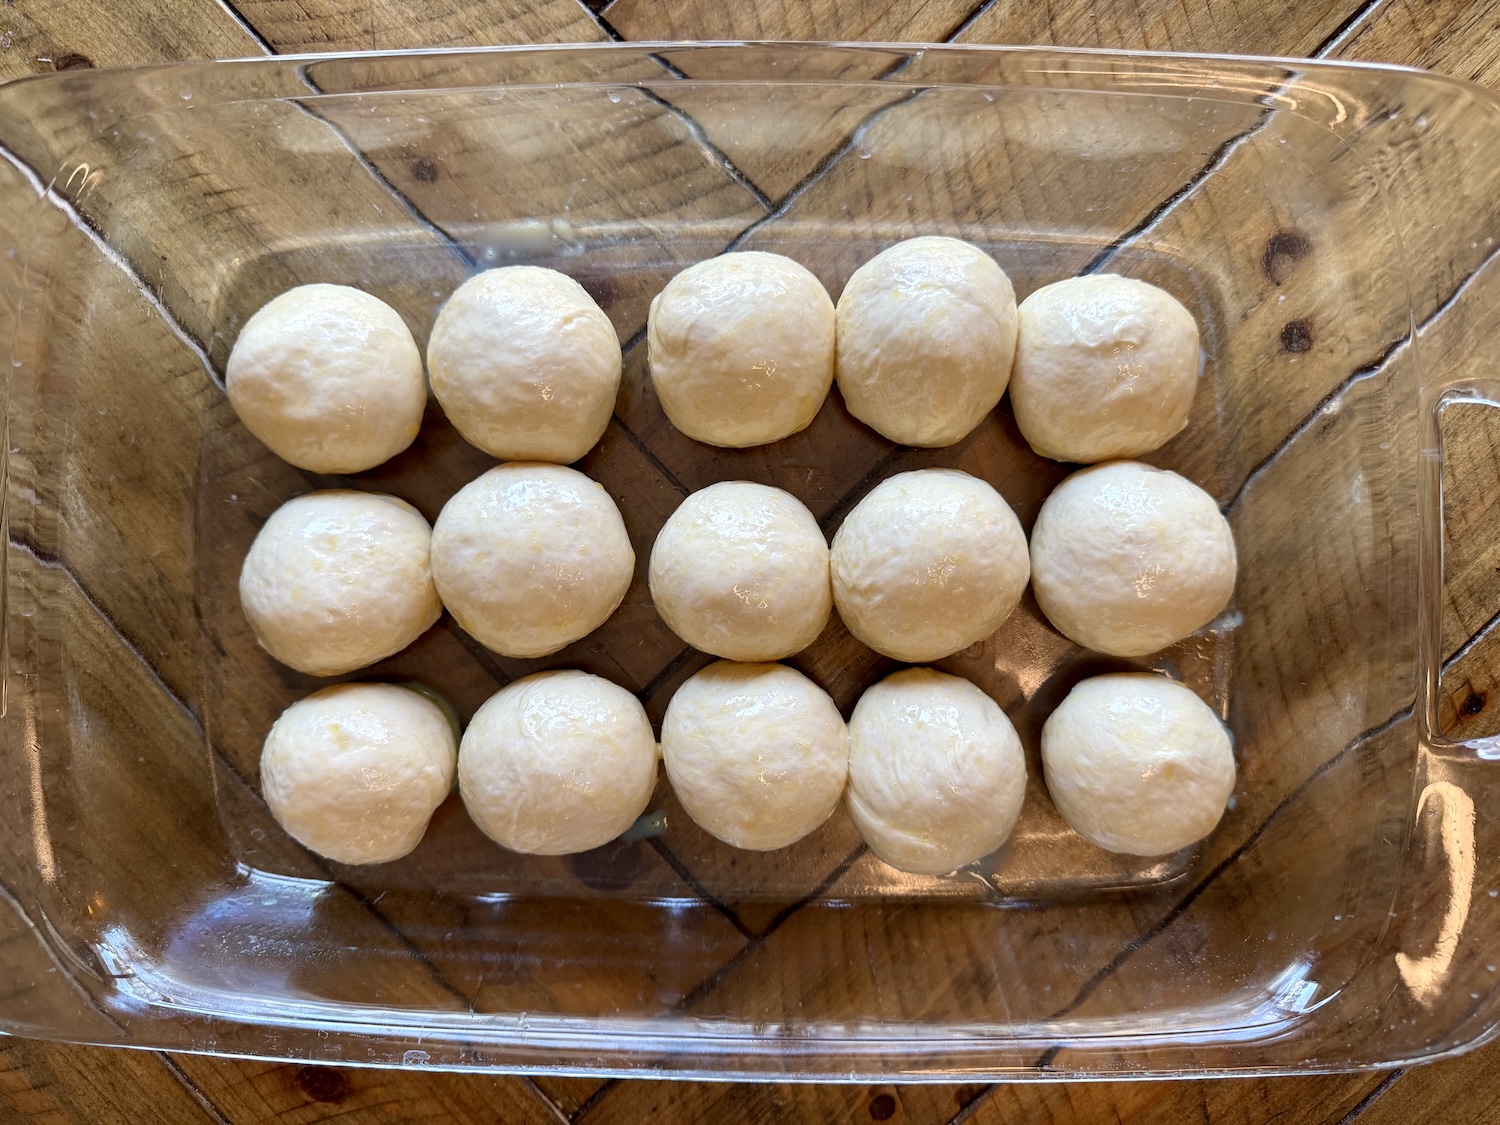
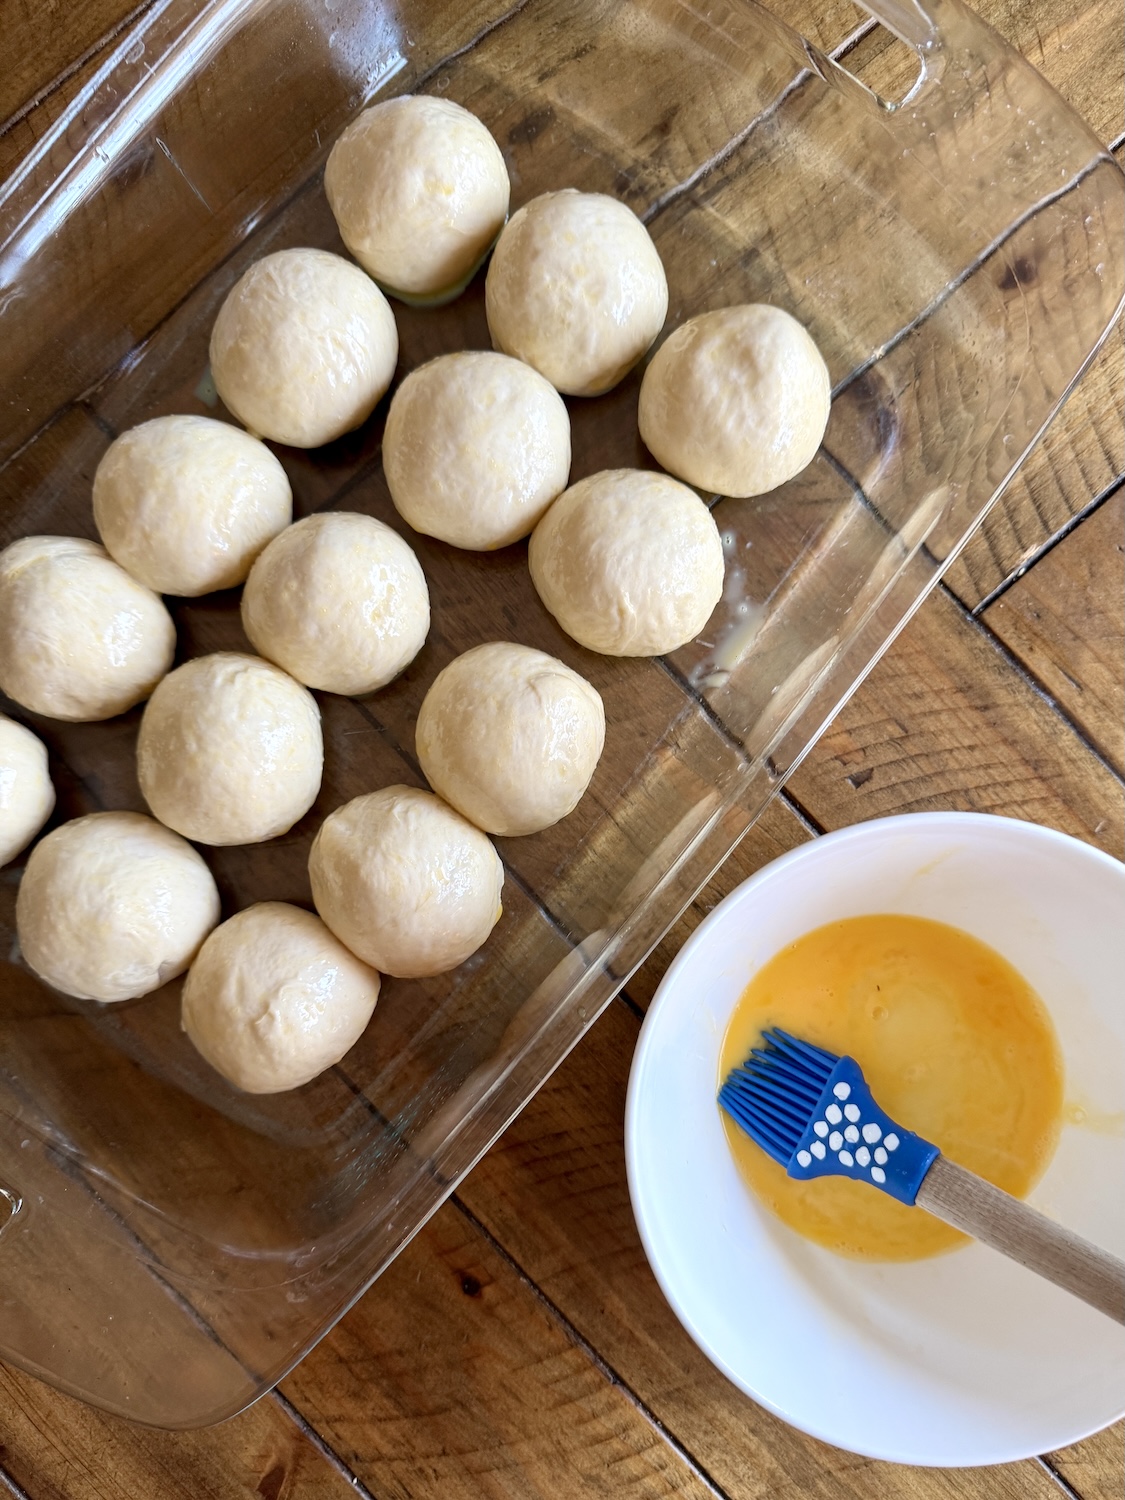
After each sourdough dinner roll is shaped, place it in a greased 9×13” pan or any other baking dish and cover it with plastic wrap or beeswax for its final proofing stage.
To Cold Ferment or Not To Cold Ferment:
Once your dough is shaped and ready to proof one last time before baking, you have a choice! If you need these rolls the same day, let your rolls proof on the counter for 1-2 hours before baking.
However, if you are making these ahead of time let these sourdough dinner rolls cold ferment in the fridge for 1-2 days and pull out to bake fresh when you’re ready to enjoy them! This will allow the sourdough flavor become richer. Just remove the rolls from the fridge 20-30 minutes before baking to bring them down to room temperature.

Bake your delicious dinner rolls at 375* and brush the tops of your dinner rolls with an egg wash. Place them in the oven to bake for 25-30 minutes or until they reach an internal temp of 190-200*.
Once out of the oven, brush with some melted butter and enjoy warm. Have leftover dinner rolls? Make my delicious Ham and Turkey Sourdough Sliders.
If you try this recipe, let me know by leaving a comment! Love it? Feel free to give it a 5-star rating!
Find More Delicious Recipes -
Sourdough Dinner Rolls
Equipment
- Stand Mixer
- Dough Hook Attachment
- Kitchen Scale
- Bench Scraper
- 9x13" Baking Dish
- Basting Brush
Ingredients
Cup Measurements
- 1/2 Cup Bubbly Active Starter
- 2 Tbsp Local Honey
- 3/4 Cup Warm Water 104-110℉ - should be lukewarm
- 1/4 Cup Melted Butter Lukewarm
- 1/2 tsp Sea Salt
- 2 ½ Cups Unbleached All-Purpose Flour
- 1 Egg - for egg wash
Weight Measurements:
- 113 g Bubbly Active Starter
- 25 g Local Honey
- 117 g Warm Water 104-110℉ - should be lukewarm
- 56 g Melted Butter Lukewarm
- 1/2 tsp Sea Salt
- 350 g Unbleached All-Purpose Flour
- 1 Egg - for egg wash
Instructions
- In a stand mixer bowl, add in all the ingredients.
- Knead on speed low/medium speed for 10-15 minutes using the dough hook. (Speed 4 if you are using a kitchen aid) Knead until the dough is smooth and can pass the window pane test.
- Place dough into a greased bowl and cover it with plastic wrap or beeswax paper.
- Allow the dough to rise overnight (8-12 hours). This will depend on your season and how cold or hot your kitchen is. The dough should double in size!
- The next day, take your kitchen scale and weigh out 2oz balls of dough. It should get you between 12-14 rolls. (Weighing the rolls isn’t necessary if you don’t have a kitchen scale. However, if you do, it will help ensure a more “uniform” size amongst all the rolls.)
- Take each weighed-out roll and pinch the sides together. Next, roll the balls to create tension on the counter. You can do this by cupping the dinner roll lightly in your hand and rotate against the counter to seal off the bottom of the roll.
- Place the rolls into a greased 9x13” baking dish and cover with plastic wrap or a damp towel.
- If you plan to bake these rolls the same day, let them rise on the counter for 1-2 hours until doubled in size.
- BULK FERMENT: Another option is to let these rolls bulk ferment in the fridge for 1-2 days to allow the sourdough flavor to develop. Remove the rolls from the fridge 20-30 minutes before baking to bring them down to room temperature.
- Preheat your oven to 375℉
- Brush the top of the rolls with egg wash to give them a nice golden color.
- Bake the rolls for 25-30 minutes or until they reach an internal temp of 190-200℉.
- Top with melted butter if you heart desires. Allow to cool & enjoy!
Notes
- When working in the kitchen, I recommend using a kitchen scale. This will help give you precise measurements and save you time. You will ultimately use fewer dishes if you use a kitchen scale. If you need one, check this one out on Amazon!
- Make sure the dough passes the windowpane test after mixing in your stand mixer. This will ensure that your gluten development is strong giving you great looking rolls.
- The recipe is easy to double for any gathering, holiday party, etc. When you allow them to bulk ferment in the fridge, you can prep them ahead of time and have fresh rolls on the day of your event!
- If you don’t have a stand mixer, you can make this recipe by hand. You would combine all of these ingredients in a mixing bowl. Once combined, pour on a floured surface and knead by hand for 10 minutes. Get your workout in for the day!






0 Comments